📋 Description:
Generate an API key from Woodpecker.co to enable integration with external platforms such as SkySenders.ai.
🛠 Procedure:
Login to the Woodpecker.co application.
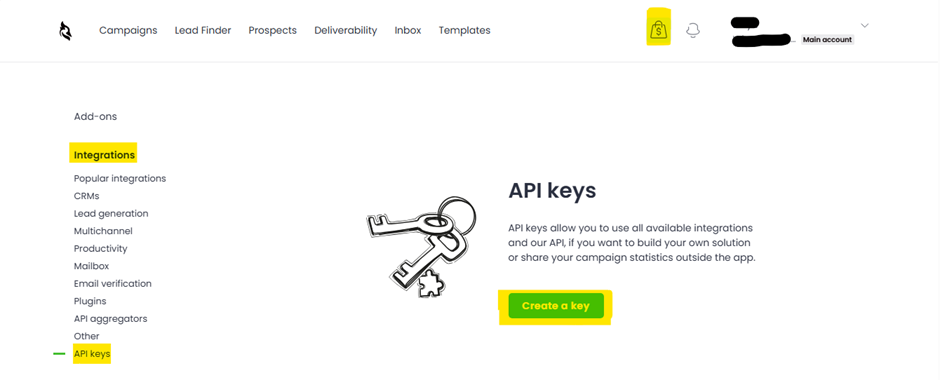
/Navigate to Marketplace → Integrations → API Keys.
Click the green Create Key button.
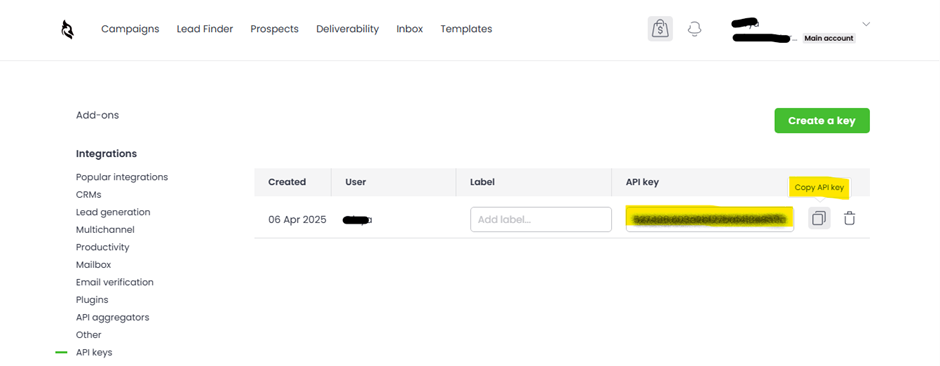
Your API key will be generated. Copy and securely save the key.
💡 Notes/Tips:
Do not share this key. It is as sensitive as your login credentials.
You can create multiple keys if needed by repeating the same steps.
Use your generated API key to connect SkySenders.ai with Woodpecker.co for seamless data exchange.
🛠 Procedure:
Login to SkySenders.ai.
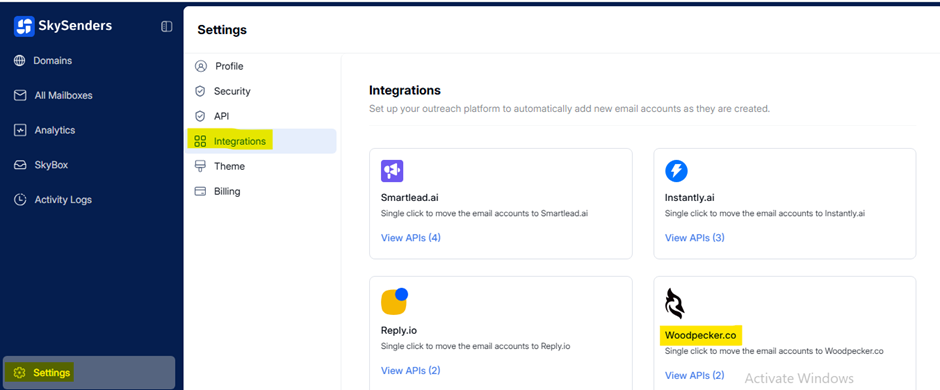
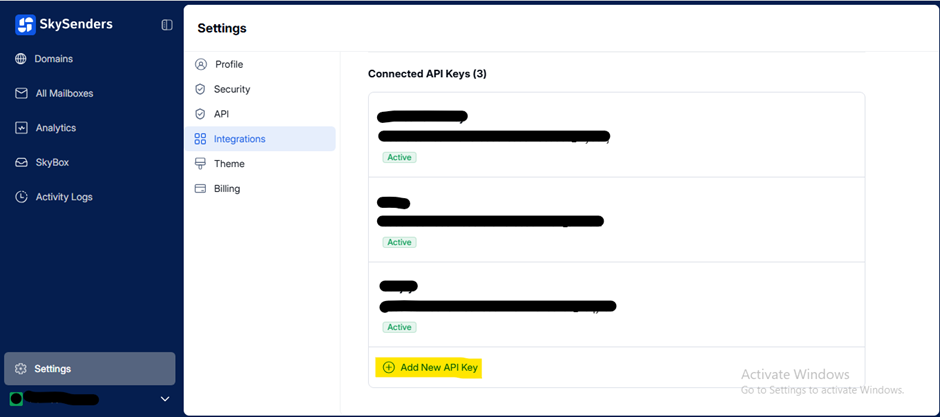
Click on Settings (bottom-left on the dashboard).
Go to the Integration section.
Choose Woodpecker.co from the integration list.
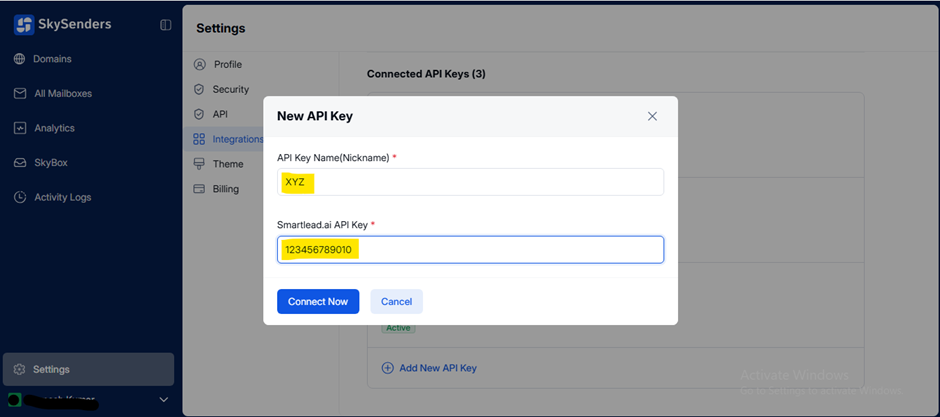
Click Add New API Key.
Enter the API Key Name and the Key itself.
Click Connect Now.
💡 Notes/Tips:
Ensure the key and its name are entered accurately to avoid errors.
📋 Description:
Transfer selected mailboxes from SkySenders.ai to Woodpecker.co using the connected API key.
🛠 Procedure:
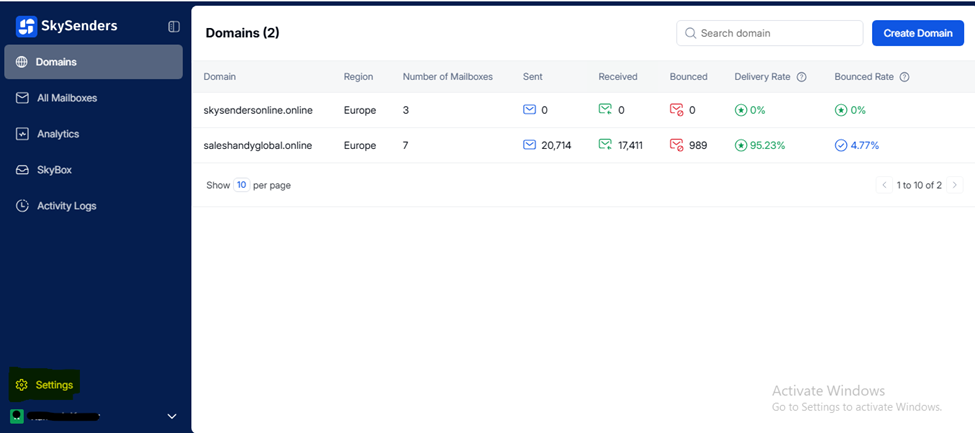
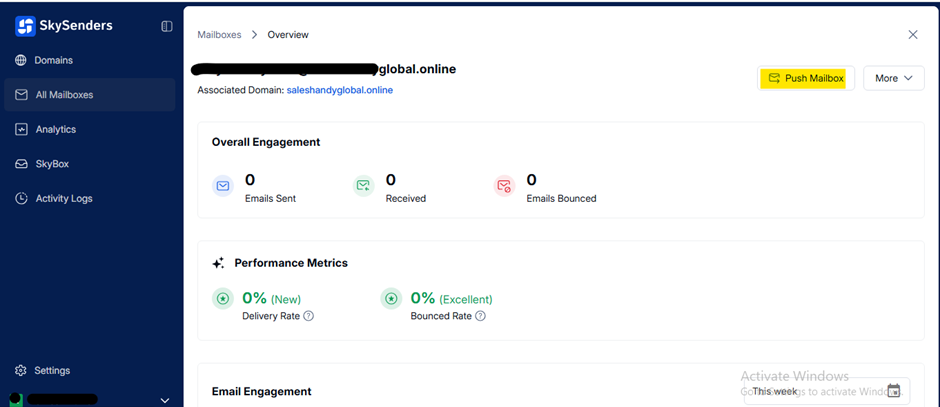
Go to the All Mailbox section in SkySenders.ai.
Select the desired mailbox.
Click Push Mailbox (top-right).
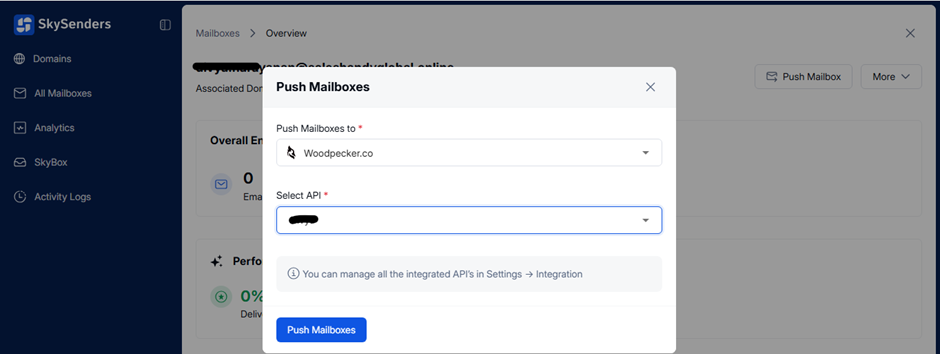
Choose Woodpecker.co from the dropdown.
Select the appropriate API key.
Click Push Mailboxes to complete.
💡 Notes/Tips:
Double-check mailbox details to avoid transfer issues.
📋 Description:
Export domain mailbox data in CSV format from SkySenders for bulk import into Woodpecker.co.
🛠 Procedure:
Login to SkySenders: https://app.skysenders.ai/login
Click on the Domain tab (top-left).
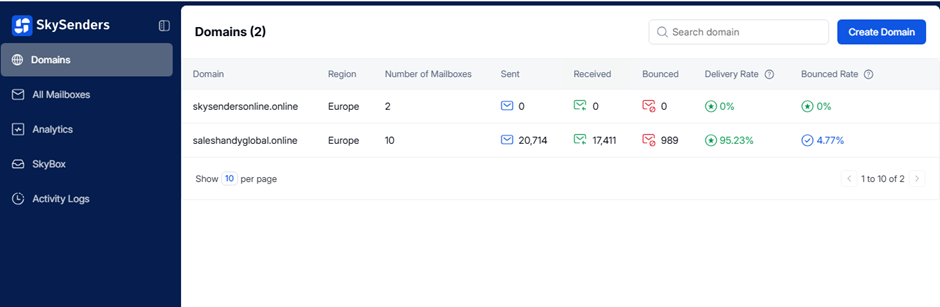
Select the desired domain.
Click Export CSV (top-right).
Choose Woodpecker.co from the list.
Click Export Now.
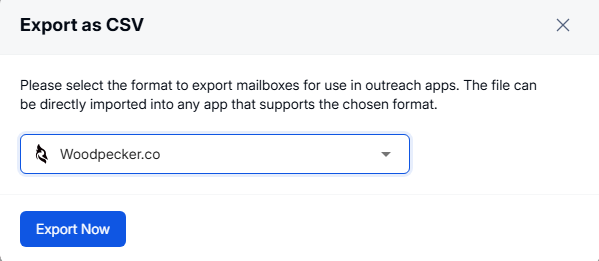
CSV file will be downloaded.
💡 Notes/Tips:
Ensure correct file format and check that mailbox details are included.
📋 Description:
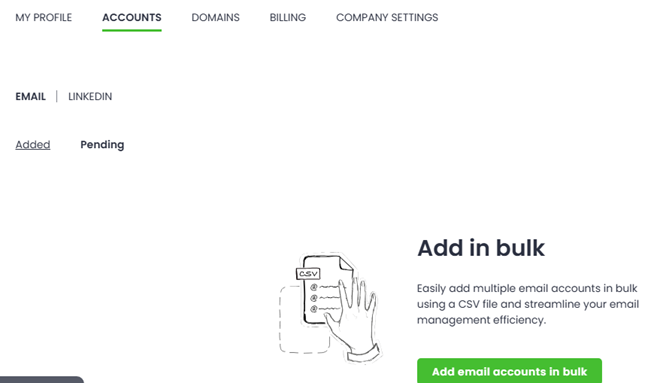
Import mailboxes in bulk into Woodpecker.co using a CSV file.
🛠 Procedure:
Login to Woodpecker.co.
Click Profile (top-right) → Settings → Accounts.
Click Add Email Account in Bulk (green button).
Upload the exported CSV file.
Click Upload.
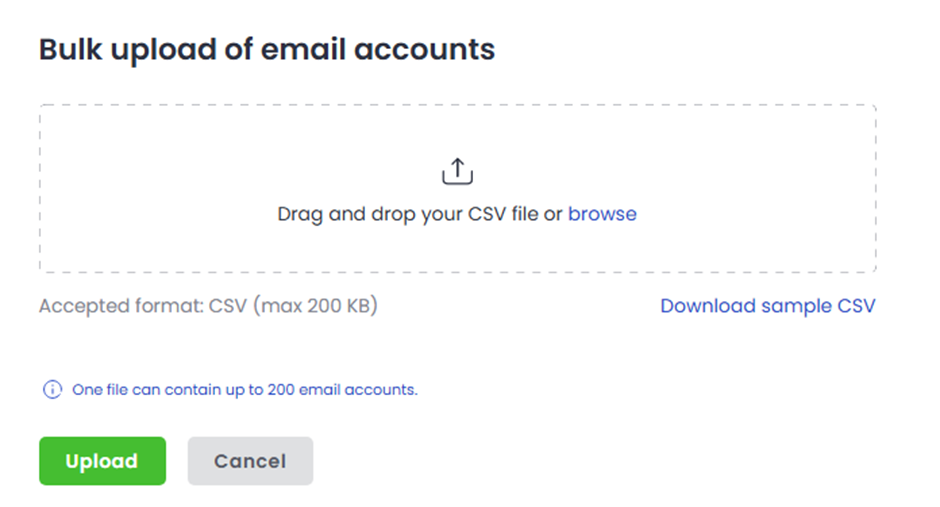
💡 Notes/Tips:
Confirm the file is correctly formatted for smooth upload.
Manually add a single mailbox by entering server and sender information.
🛠 Procedure:
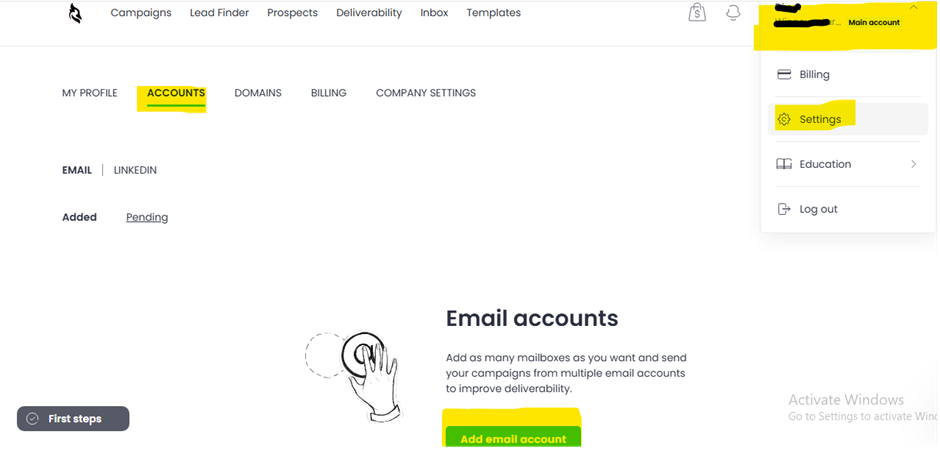
Login to Woodpecker.co.
Click Profile (top-right) → Settings → Accounts.
Click Add Email Account (green button).
Fill in SMTP and IMAP Server Data.
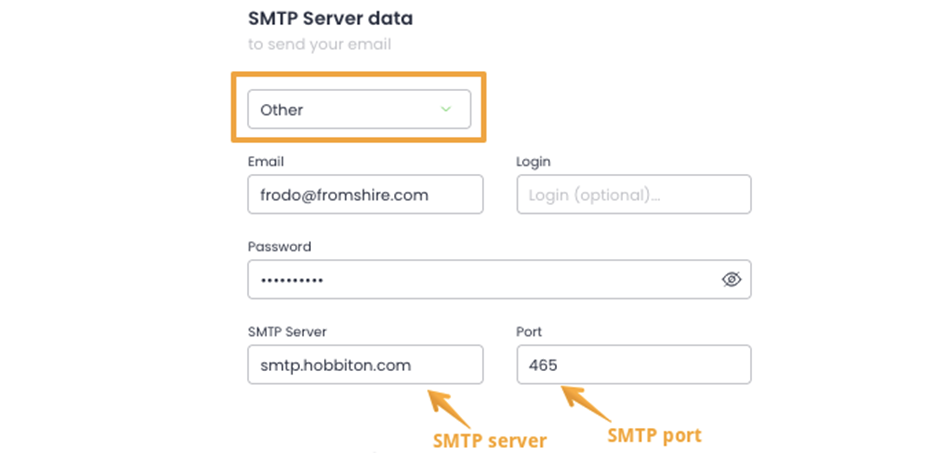
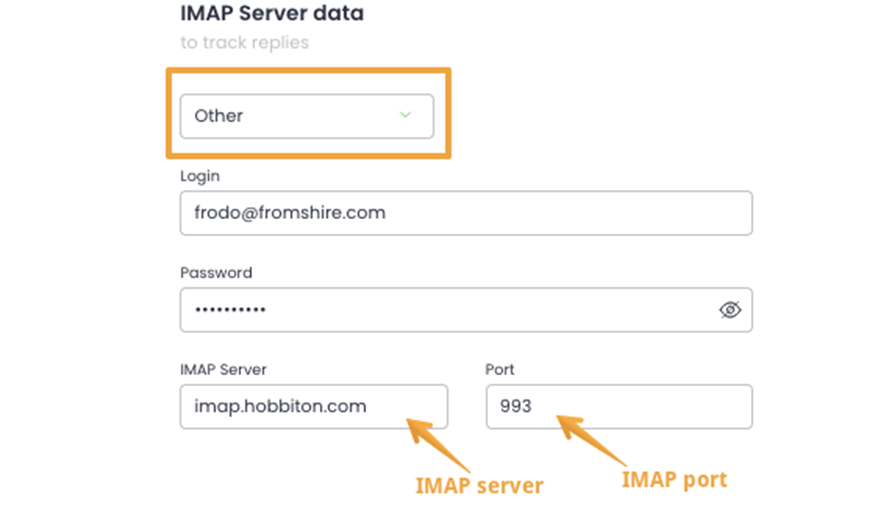
Click Continue.
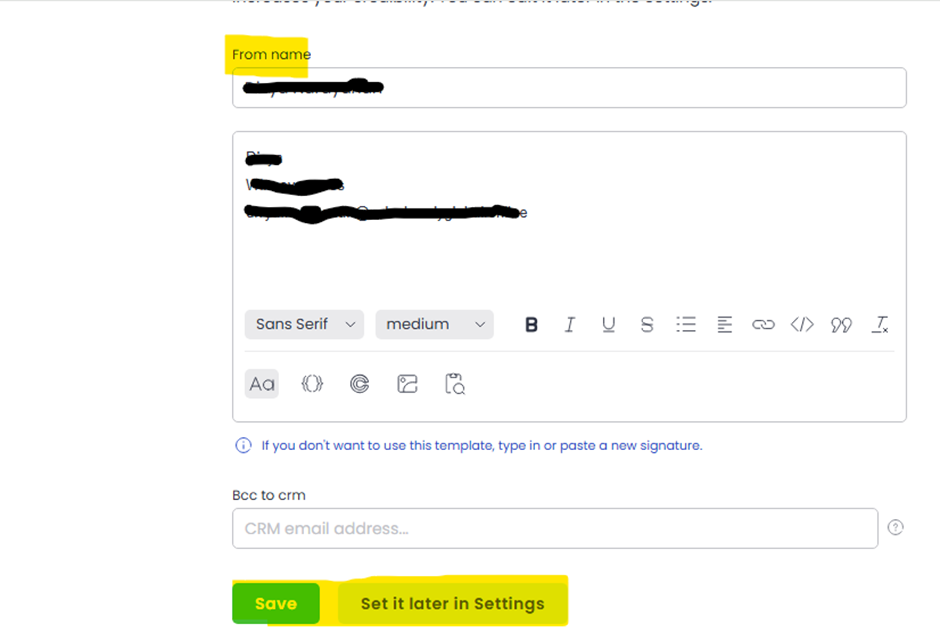
Enter:
From Name
Signature
Click Save.
Alternatively, click “set it later in Settings” to complete later.
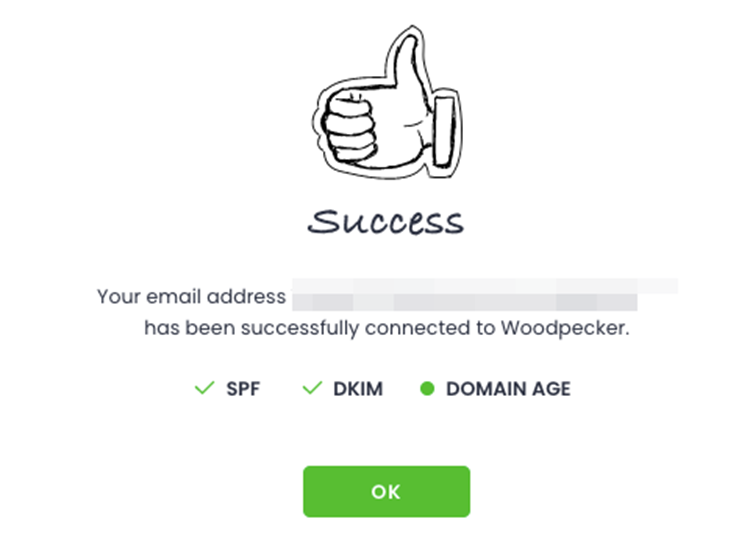
Wait for setup completion.
Click OK to proceed with campaign creation.
💡 Notes/Tips:
[Optional Link] for step-by-step video or documentation on bulk uploads.
Verify that mailboxes have been properly pushed to and set up in Woodpecker.co.
🛠 Procedure:
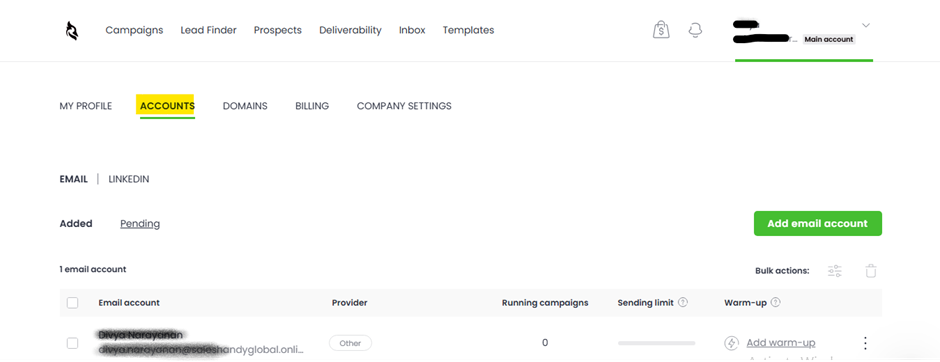
Login to the Woodpecker.co dashboard.
Click Profile → Settings → Accounts.
Check if your mailbox appears:
✅ Appears: Mailbox push was successful.
❌ Not visible: Push may have failed; recheck steps.
💡 Notes/Tips:
Make sure to refresh the page if the new mailbox is not immediately visible.
