Log in to your SkySenders.ai dashboard.
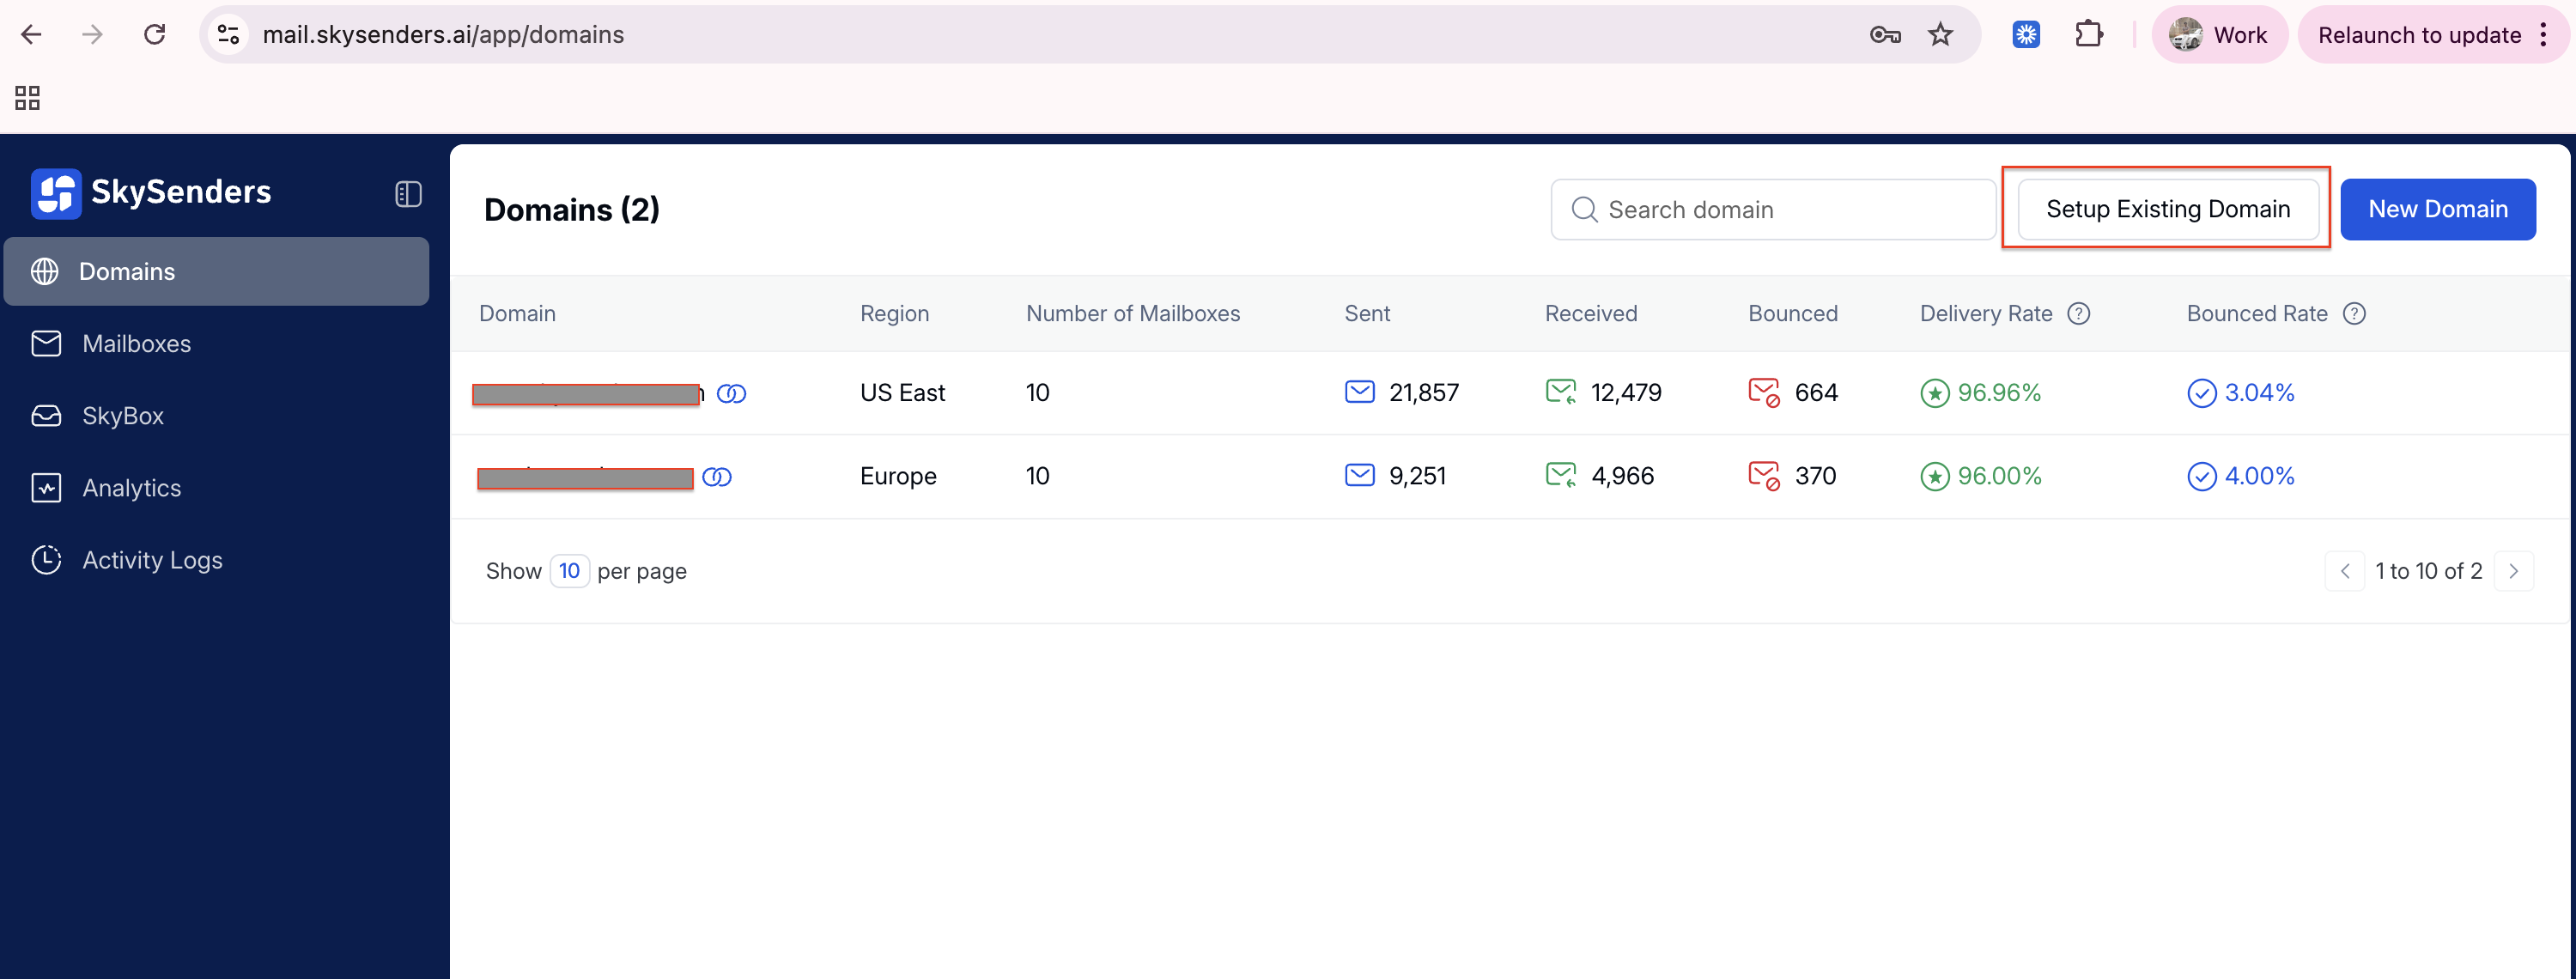
Go to the Domains page.
Click “Setup Existing Domain” in the top-right corner.
Enter your subdomain name (for example: outreach.yourdomain.com).
Click “Fetch NS Records.”
SkySenders will generate Nameserver (NS) records specifically for the subdomain.
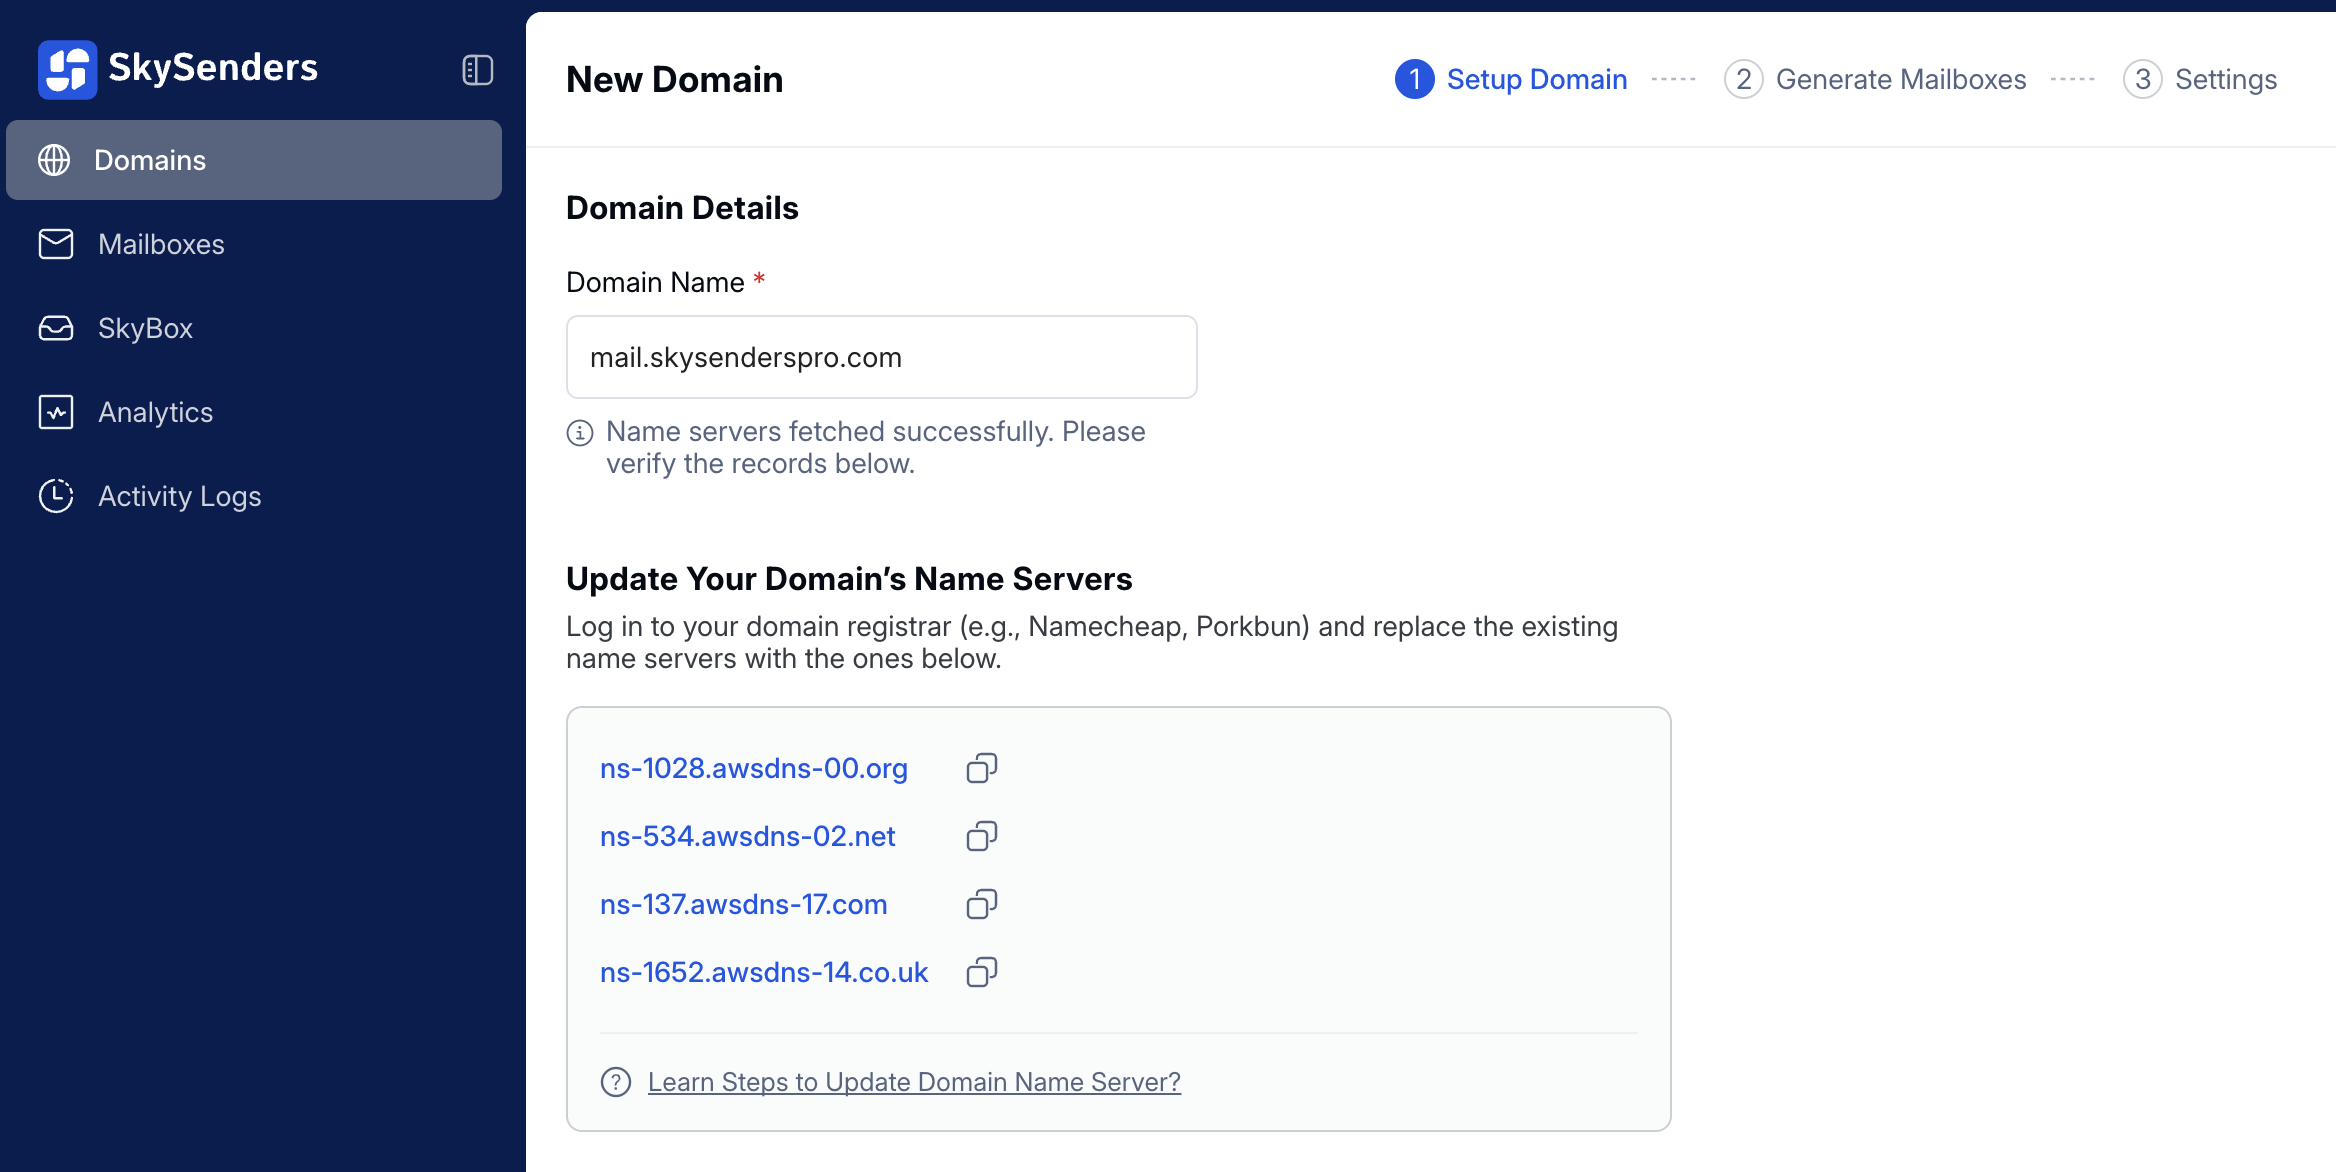
Log in to your main domain’s DNS provider (e.g., Namecheap, GoDaddy, Cloudflare).
Add the generated NS records as DNS entries for the subdomain (do not replace the main domain’s nameservers).
Save the changes.
SkySenders automatically verifies NS updates using an automated cron job—no manual verification required.
Once done, click “Save and Continue.”
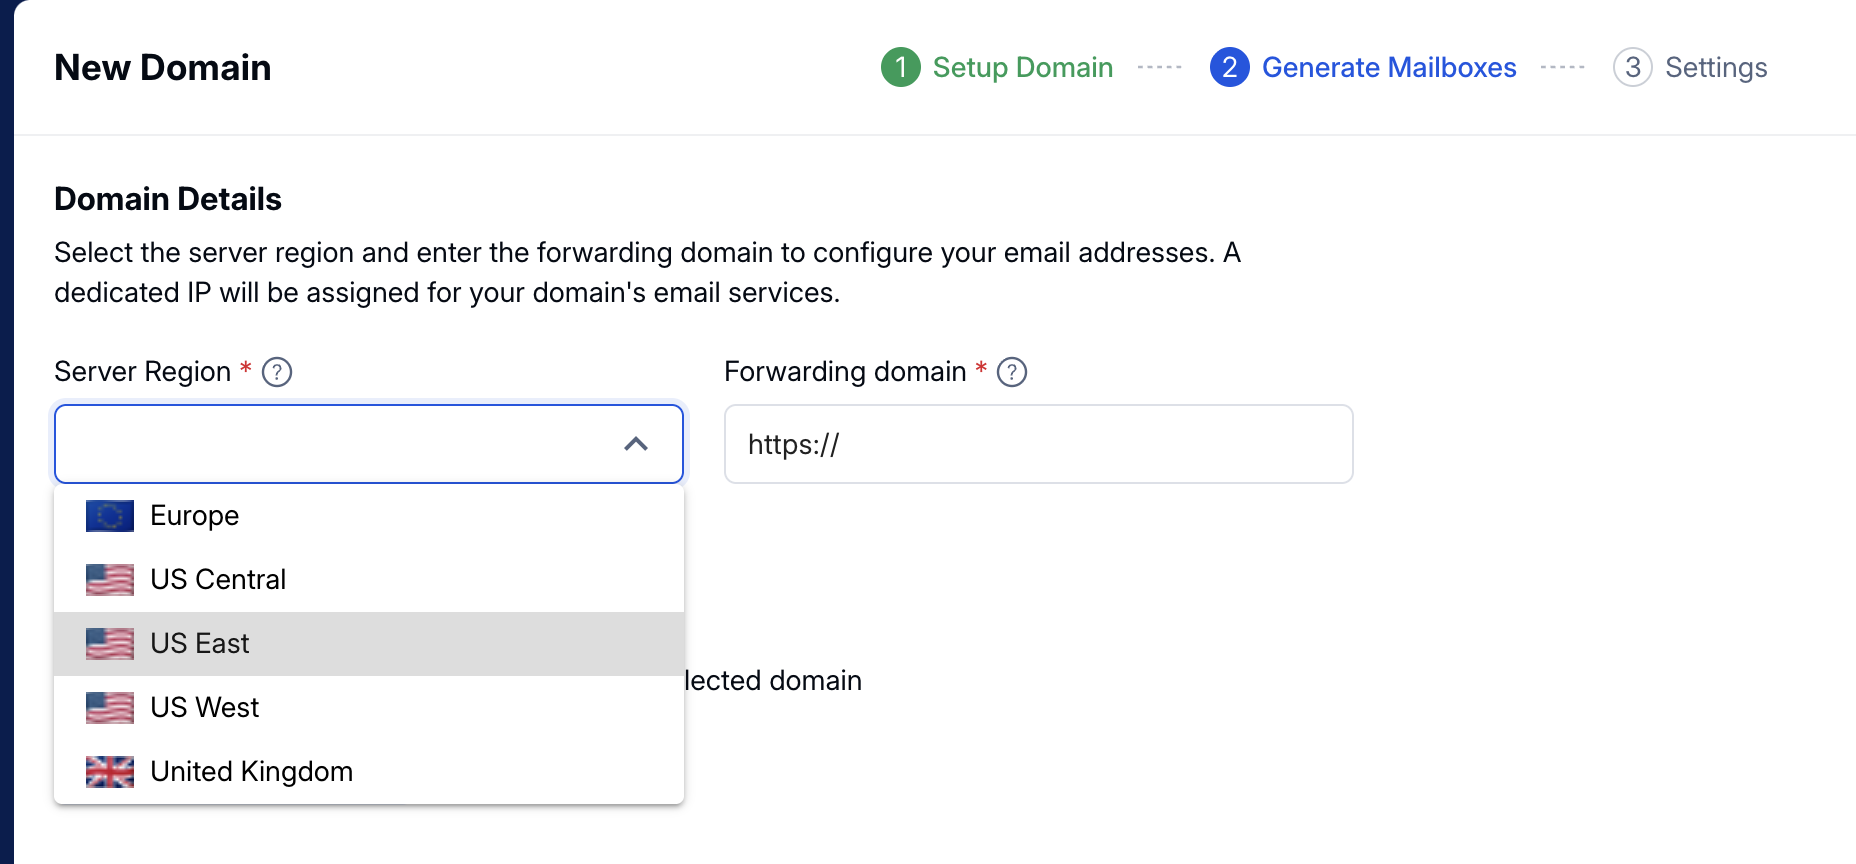
Select a server region based on your geographical or deliverability preference.
Enter the primary website URL where emails or traffic should be forwarded (usually your main business domain).
Click “Save and Continue” to proceed.
Choose how you’d like to create mailboxes:
Auto-Generate Mailboxes
Best for bulk mailbox creation with minimal effort.
Manually Create Mailboxes
Ideal if you want full control over mailbox names and structure.
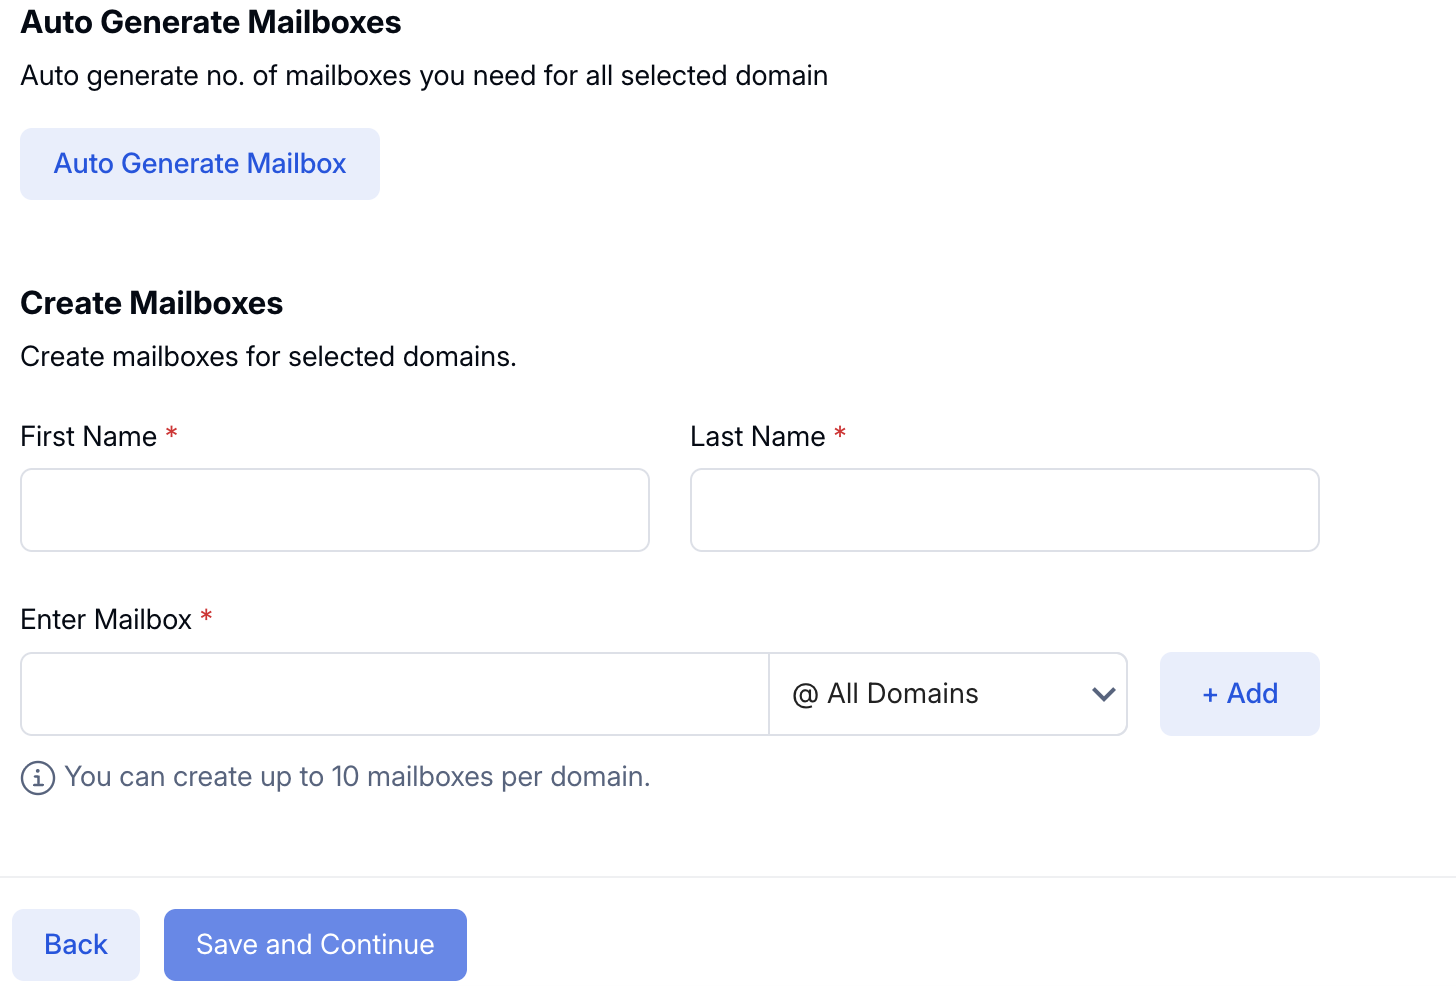
After selecting your preferred option, continue to the next step.
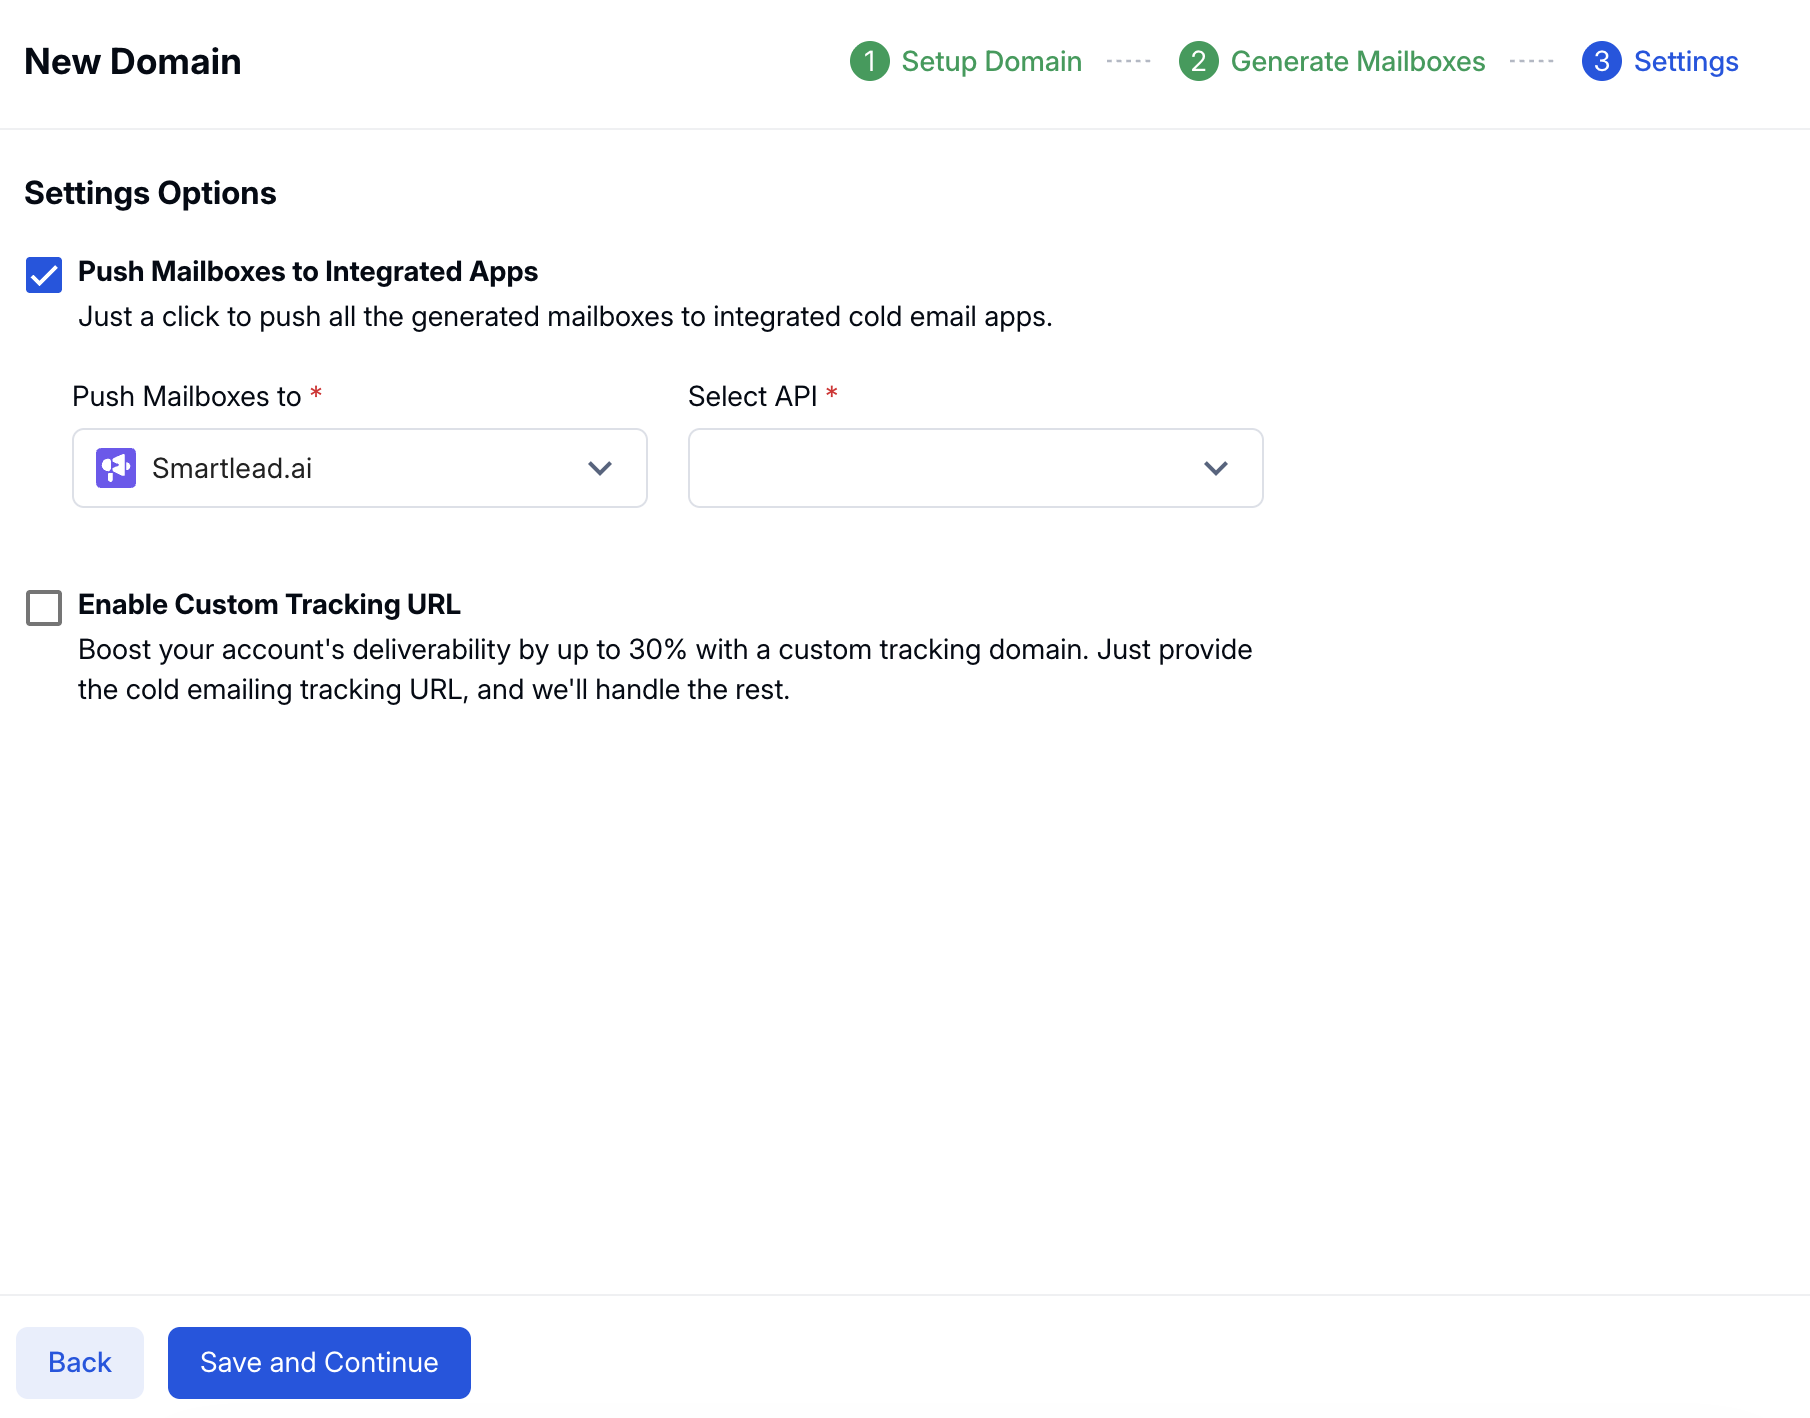
Click “Save and Continue” to configure:
App Integration (connect your cold email tool)
Custom Tracking URL (for open and click tracking)
Once all required information is submitted, SkySenders automatically handles:
Subdomain configuration
DNS setup
Mailbox creation
Subdomain forwarding & custom tracking URL setup
Integration with your favorite cold outreach tool
The entire setup process typically completes within 10 to 30 minutes.
For subdomains, NS records must be added as DNS entries inside your main domain’s DNS settings.
You do not need to change or replace the main domain’s nameservers.
