Open the SkySenders App.
Click on “Create Domain” located at the top-right corner of the dashboard.

Use the search bar to find your desired domain name.
Select a domain that includes your preferred extension (e.g., .com, .io, .tech).
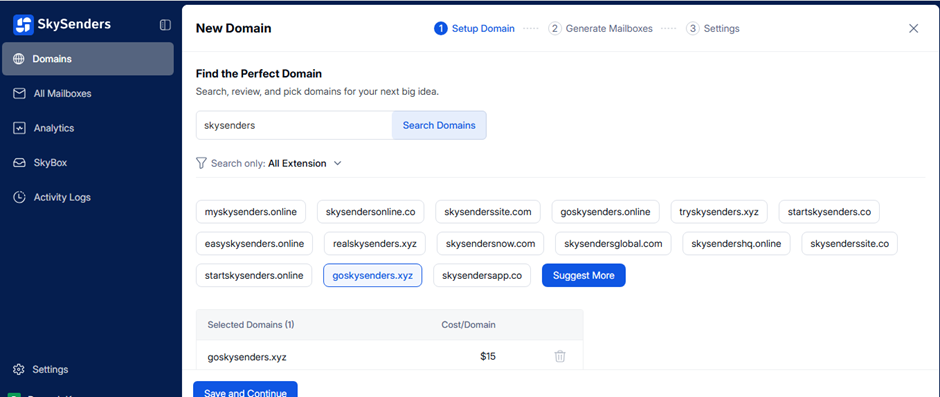
💡 Tip: Choose a domain that is short, memorable, and aligns with your brand identity.
Click “Save and Continue” to proceed to domain forwarding setup.
Select the Server Region based on your geographical needs.
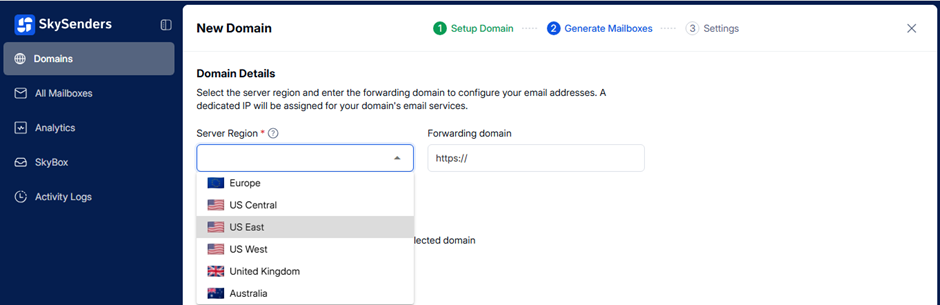
Enter the URL of your primary domain where emails will be forwarded.
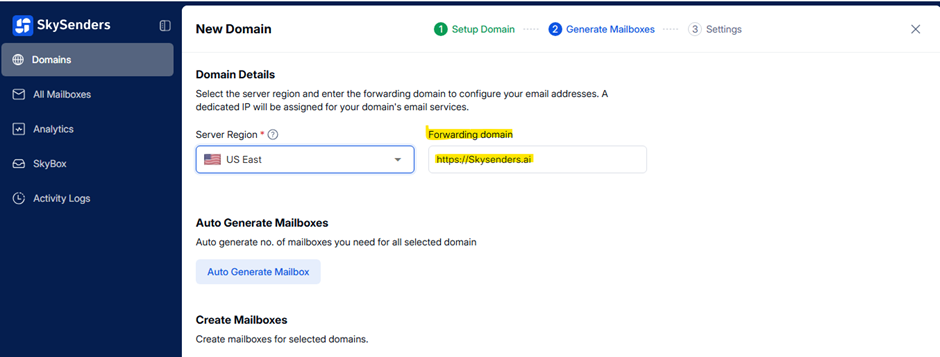
Choose your preferred method:
Auto Generate Mailboxes: For bulk creation.
Manually Create Mailboxes: For detailed customization.
Click “Save and Continue” to configure:
App Integration
Custom Tracking URL
Select “Push Mailboxes to Integrated Apps” to push mailboxes.
Use the dropdown under **Push Mailboxes to *** to select your outreach app.
Under **Select API ***, choose an existing API key or Add New API Key.

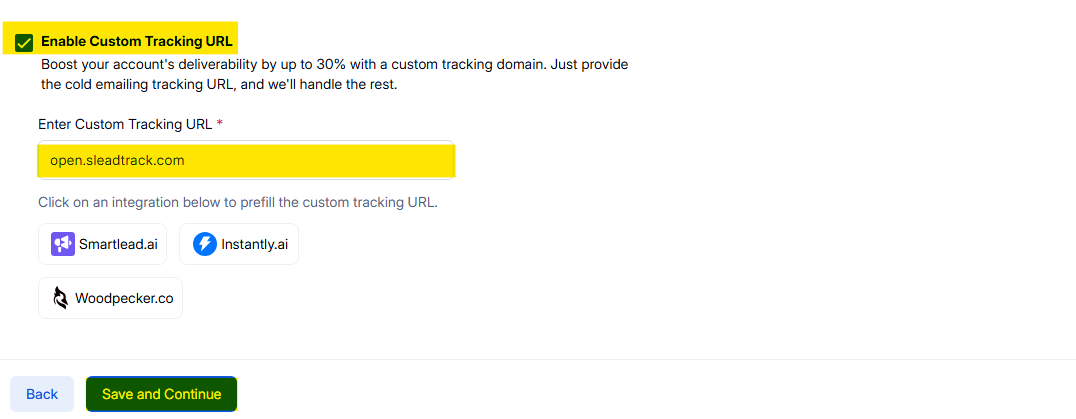
Enable Custom Tracking URL option.
Choose from:
Enter the tracking URL manually, or
Click on an integration to prefill the tracking URL.
Click “Save and Continue.”
Once all required information is submitted, SkySenders automatically handles:
Domain configuration
DNS setup
Mailbox creation
Domain forwarding & custom tracking URL setup
Integration with your favorite cold outreach tool
The entire process typically completes within 10 to 30 minutes.
