Easily set up a forwarding domain during the domain purchase process in the SkySenders App. This allows you to redirect traffic or emails to your primary domain seamlessly.
Open the SkySenders App.
Click on “Create Domain” located at the top-right corner of the dashboard.
Use the search bar to find your desired domain name.
Select a domain that includes your preferred extension (e.g., .com, .io, .tech).
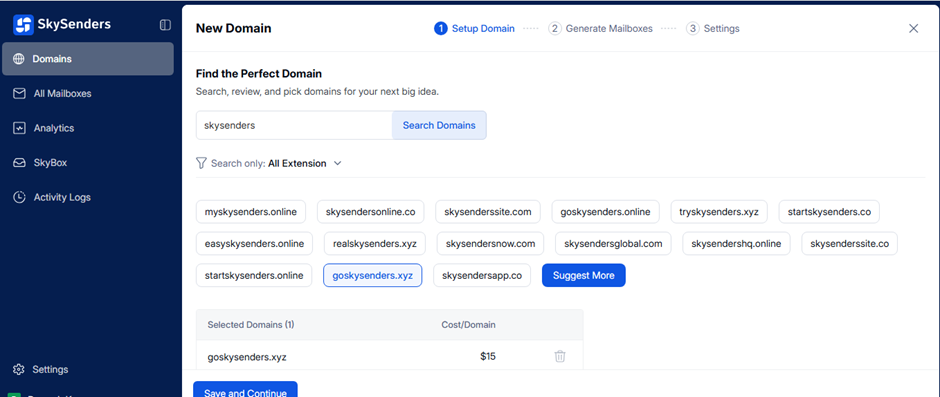
💡 Tip: Choose a domain name that is short, easy to remember, and aligned with your brand identity.
Click “Save and Continue” to move on to the forwarding domain setup.
Select the Server Region based on your geographical needs.

Enter the URL of your primary domain where emails will be forwarded.
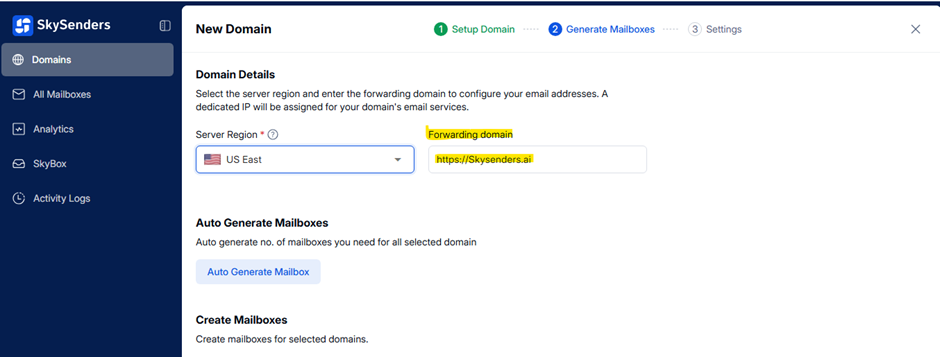
Choose one of the following methods to create mailboxes:
Auto Generate Mailboxes for bulk setup.
Manually create mailboxes for full customization.
Click “Save and Continue” to:
Configure App Integration
Set up a Custom Tracking URL
Enter your payment details.
Confirm and complete the domain purchase.
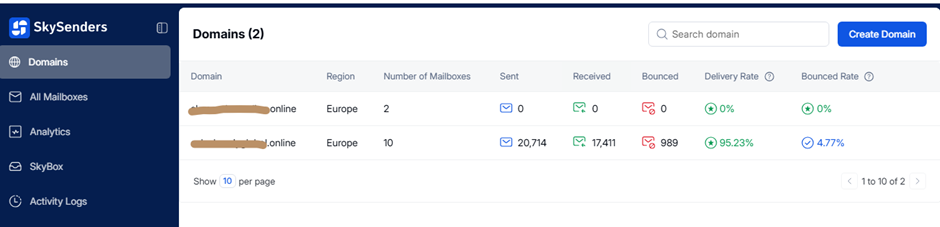
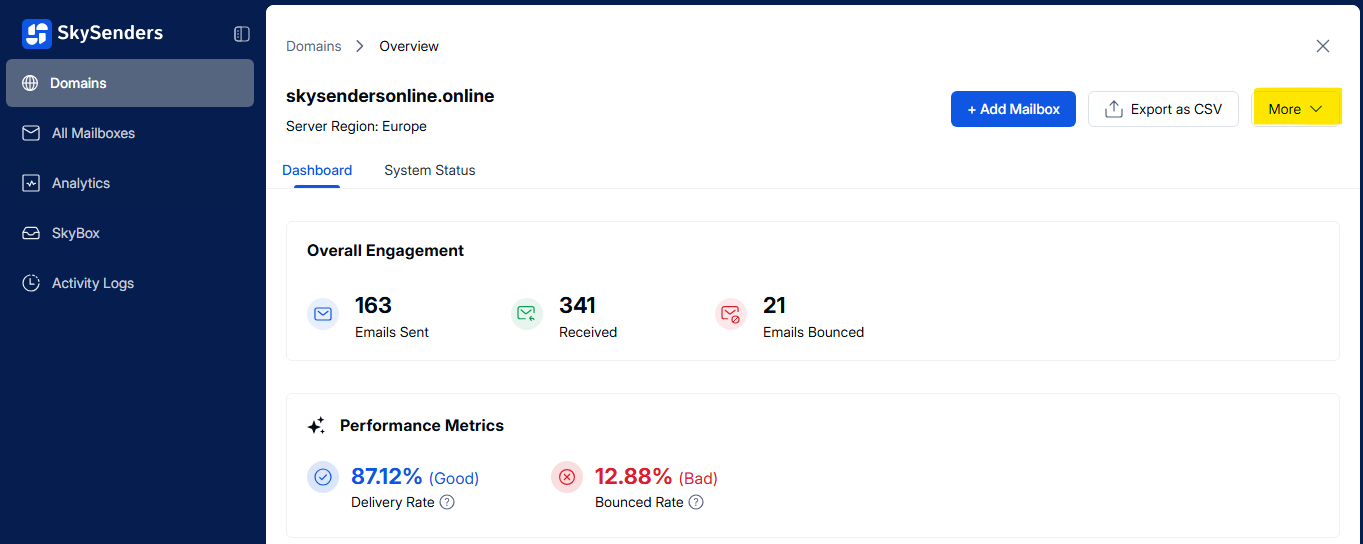
Launch the SkySenders App.
Click on the “Domain” tab from the top-left menu.
A list of your purchased domains will appear.
Choose the domain which you want to set up the forwarding.
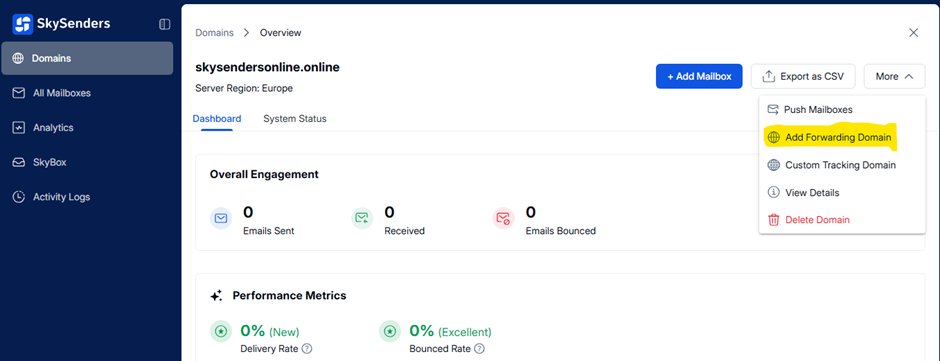
Click on the “More” button (top-right corner).
Select “Add Forwarding Domain” from the dropdown.
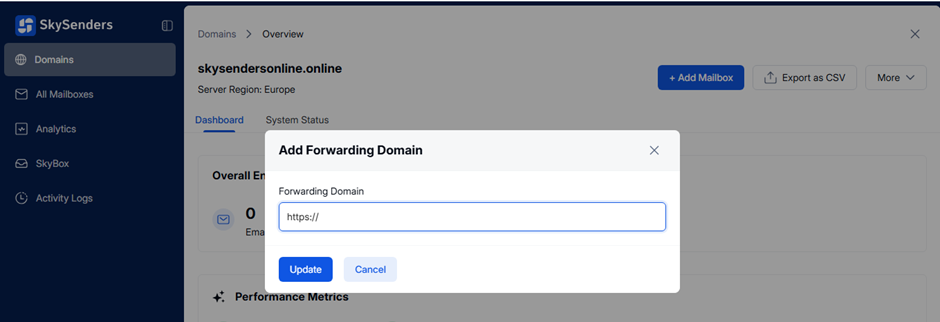
Enter the destination URL (e.g., https://your-primary-domain.com)
Click “Update” to save your settings.
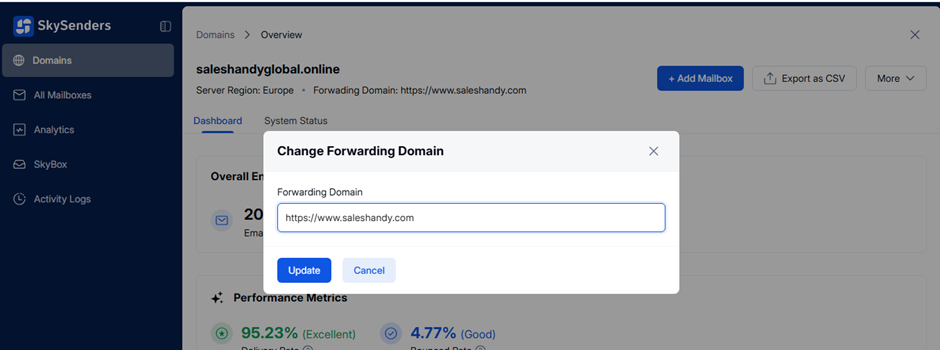
Domain forwarding changes can also be updated after your initial setup. Here's how to modify your forwarding URL if you need to point your domain to a different destination.
Visit SkySenders Login
Sign in to your account.
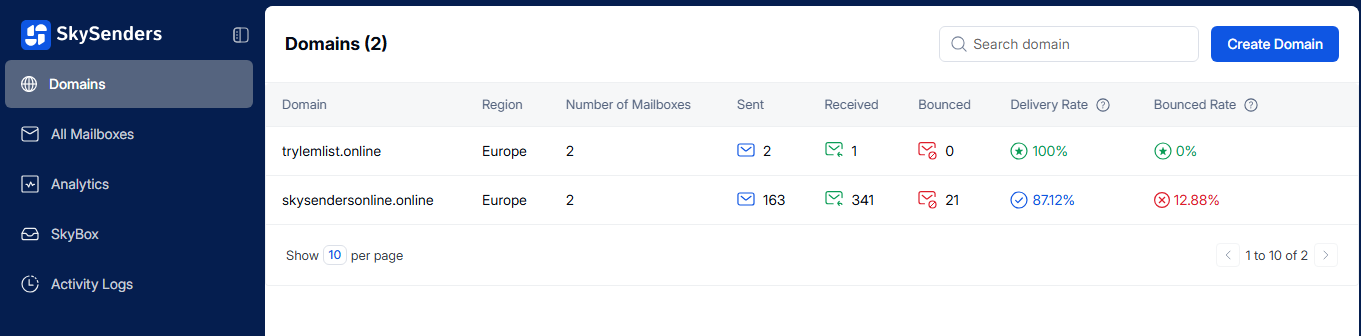
Click on “Domain” from the top-left.
All purchased domains will be displayed.

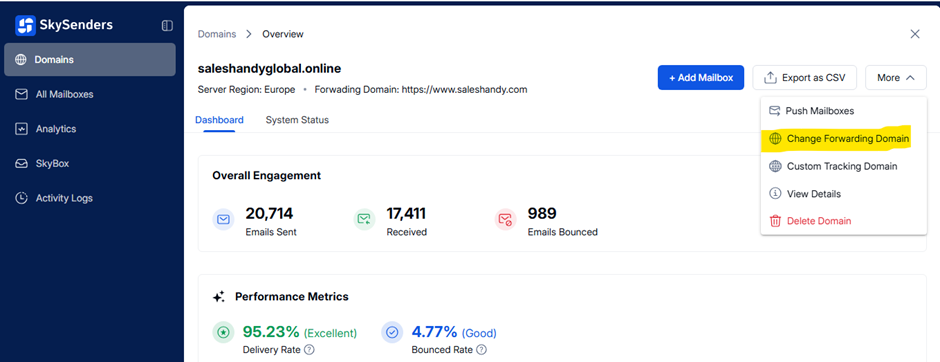
Select the domain for which you want to change the forwarding URL.
Click on the “More” button (top-right corner).
Select “Change Forwarding Domain.”
Enter the new destination URL (e.g., https://new-forwarding-url.com)
Click “Update” to apply changes.
Forwarding changes do not take effect immediately.
DNS changes may take 24–48 hours to fully propagate across the internet.
Plan your email campaigns accordingly to avoid interruptions during the DNS update window.
